Guide to replace your bath for a Krion Shell® shower tray

13/01/2022 [Updated on 27/03/2026]
Replacing the bathtub with a solid surface shower tray is a very wise decision given all the advantages it offers, but you have to know how to do it right to ensure the result is what you have in mind.
If you're considering replacing your bathtub with a shower tray, you should know that it's always best to have a professional handle the job. Experience counts, and when it comes to something as important as your bathroom shower, having that experience is essential.
That’s why we’ve put together a guide with everything you need to remove a bathtub and install a shower.
What will you learn in this article?
-
Advantages of replacing the bathtub with a shower pan
-
Why choose a solid surface shower pan?
-
Step by step: how to replace a bathtub with a shower pan
-
Which shower pan should you choose?
Advantages of replacing a bathtub with a shower pan
Showers are the future, and while a bathtub may be comfortable for soaking in a relaxing bath, a shower is a much more practical, economical, and sustainable option. Here are its main advantages:
- Time savings. It makes our daily lives easier, since a shower takes an average of 10 minutes compared to the 30 minutes of a relaxing bath.
- Saves money and energy, because we use less water when showering than when taking a bath.
- Aesthetically, the bathroom looks much more spacious with a shower, especially if the space is small.
- It is more accessible for people with mobility issues.
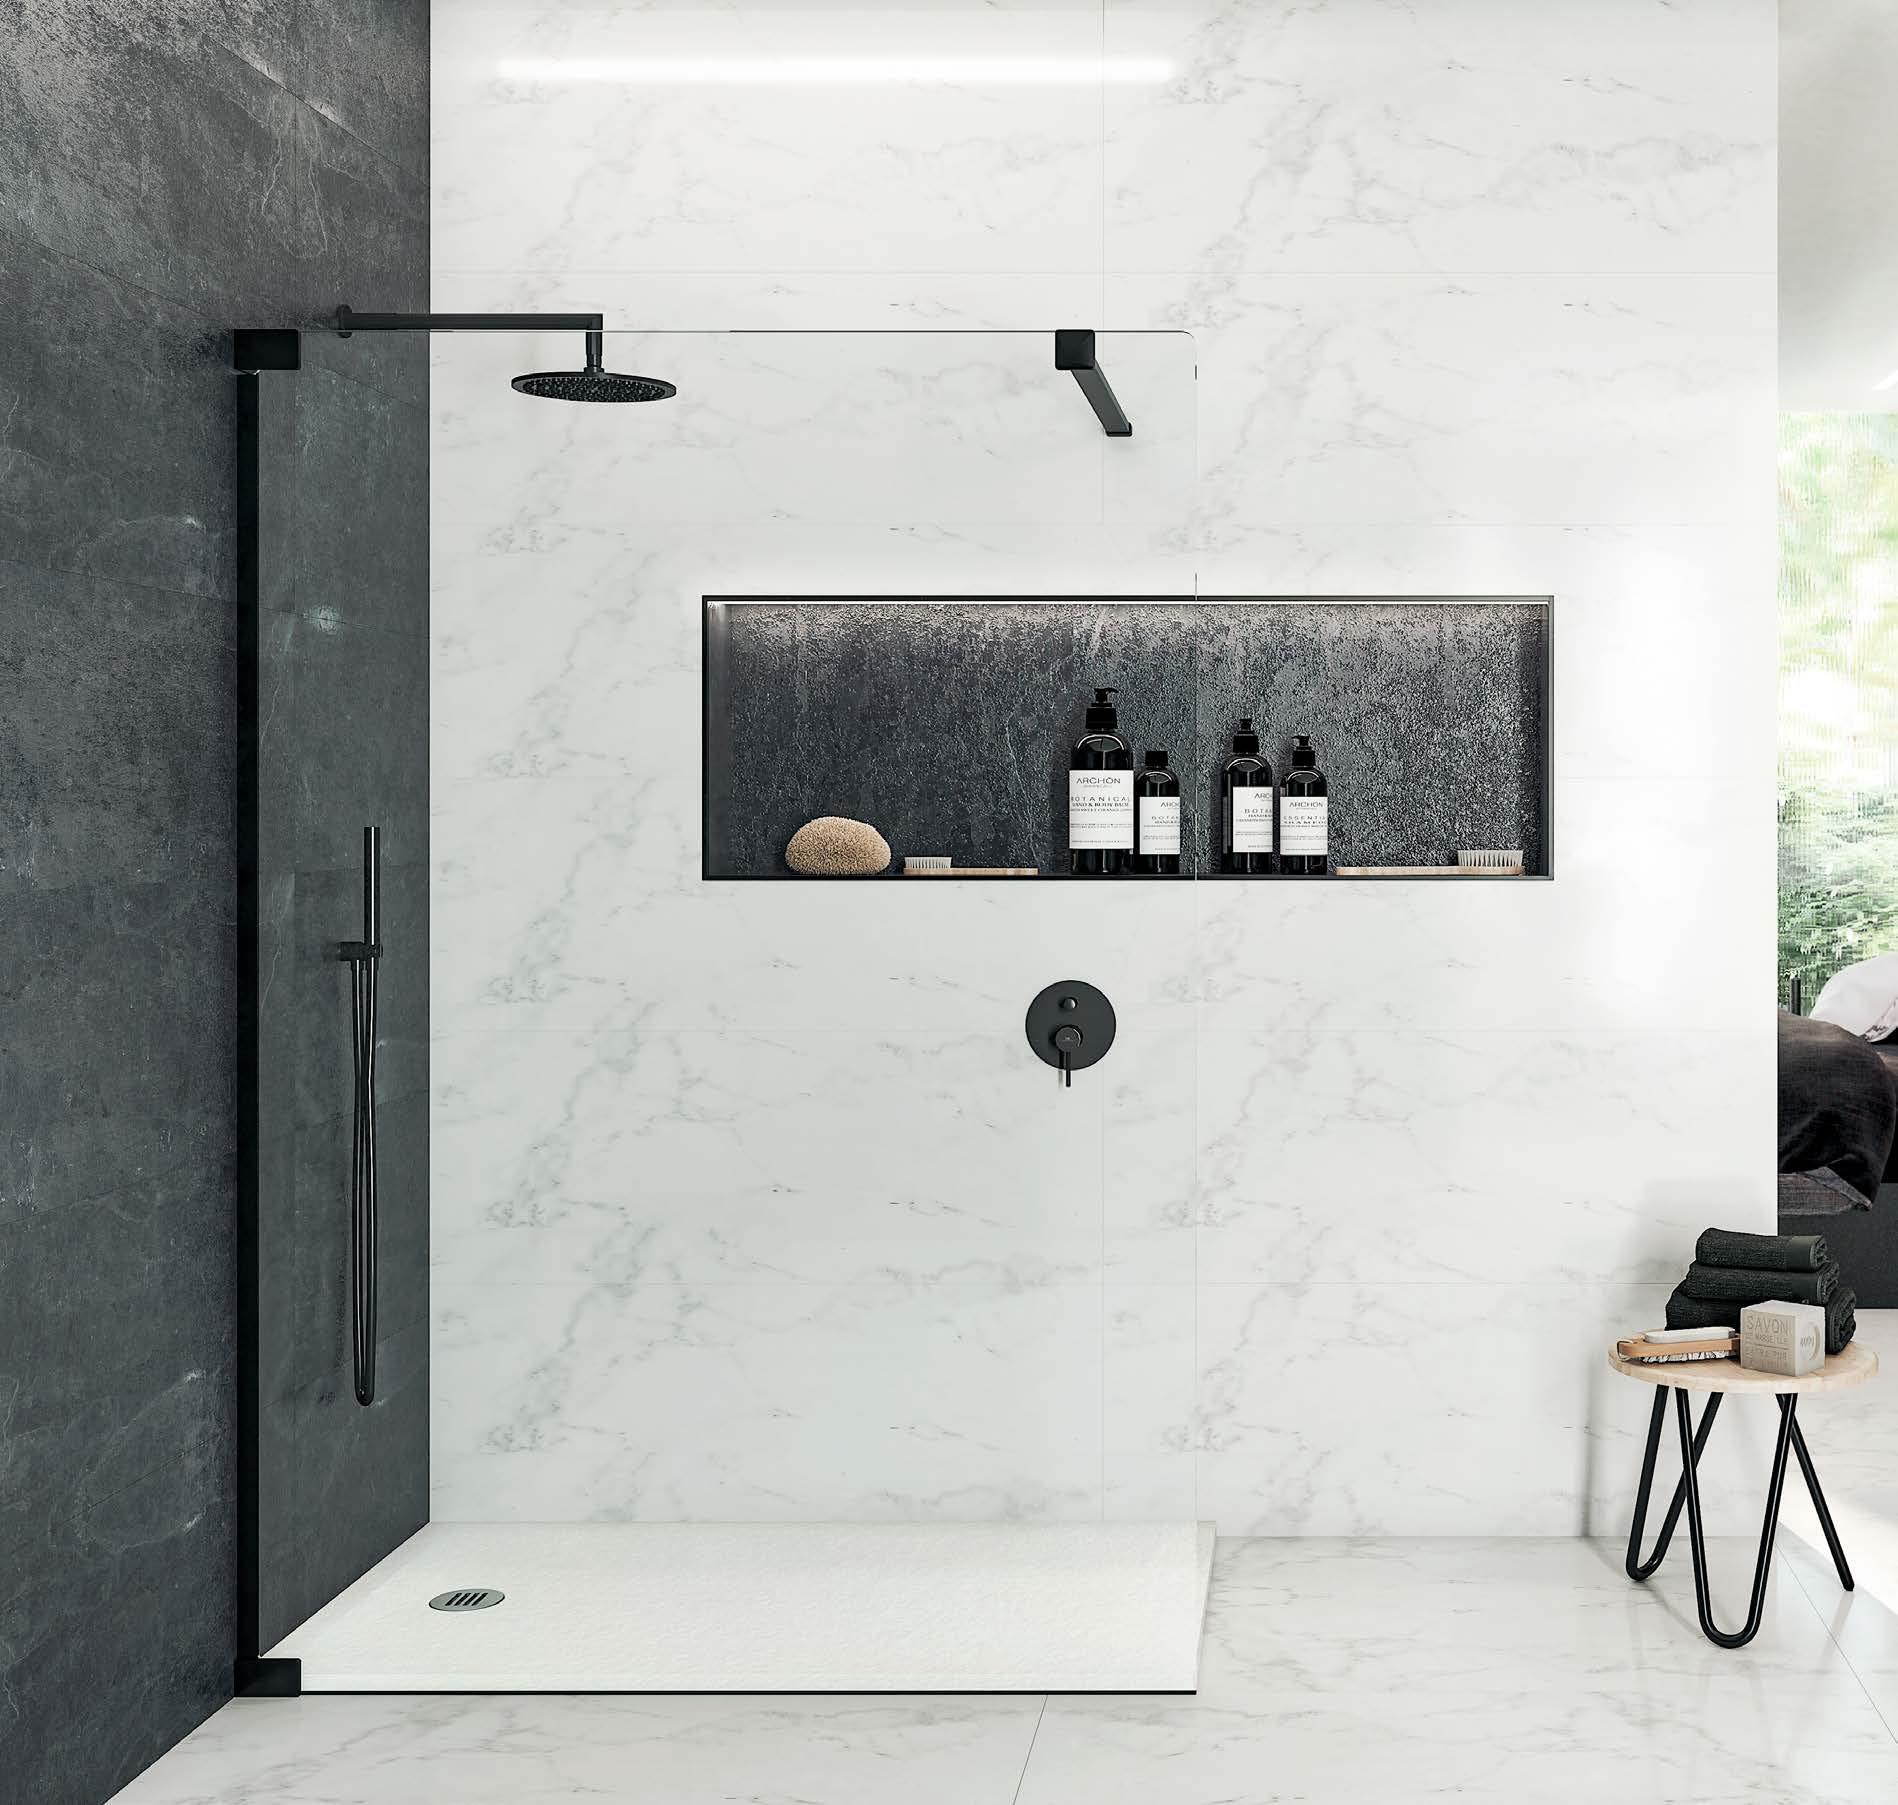
¿Why choose a solid surface shower tray?
The material Krion Shell® is an ideal choice for renovating spaces. Its strength, impact resistance, and ease of maintenance make it the perfect choice perfect choice for a professional shower tray. Unlike other materials, it can be worked with standard workshop tools, which makes it easier to handle and reduces waste. Furthermore, its non-porous composition prevents the accumulation of bacteria and fungi, improving hygiene and the durability of the space. This makes it an ideal solution for projects seeking a sustainable, durable, and high-quality option.

Slope Shower Pan
Materials for Replacing a Bathtub with a Shower Pan
To renovate your bathroom, you’ll need more than just the shower pan, the wall tiles you’ll be installing, and the faucets. There are a few other tools and materials you’ll need. Some of them are as follows:
- PVC piping for the faucets and the shower drain.
- Connectors.
- Waterproofing product.
- Sledgehammer and pickaxe.
- Paint stripper.
- Electric or manual screwdrivers.
- Adjustable wrench.
- Spirit level.
- Silicone and caulking gun.
- Pencil and tape measure.
- Gloves.
Step-by-Step: How to Replace a Bathtub with a Shower Pan
Here is the step-by-step guide to replacing your bathtub with a shower pan:
Step 1: Take measurements
Before buying the shower pan and the rest of the materials, you need to take measurements to determine the dimensions of the shower pan and how many meters of pipe you’ll need. You should also measure the height to determine how many meters of wall cladding or panels will be required.
Step 2: Turn off the shut-off valves
Before starting any plumbing work, make sure to turn off the water supply at the shut-off valves. This will prevent leaks and accidents during the work.
Step 3: Remove the bathtub
Remove the bathtub, starting with the faucet, the drain, and the wall tiles. First, remove the drain valve. Remove the old tiles and the bathtub skirting. Next, remove the bathtub along with any grout or silicone that may be present.
Step 4: Prepare the drain for the shower pan
Adapt the drain for the shower pan, keeping in mind that the connection pipe for the shower pan valve must be at least 40 mm in diameter, or up to 50 mm if it is a high-flow valve.
Step 5: Check the surface level
Using a spirit level, make sure the surface is perfectly level. If it isn’t, you can level it using mortar.
Step 6: Position the shower pan on the surface
Place the shower pan in position to check that the drain and the hole in the pan are aligned. Once checked, remove the pan.
Step 7: Waterproof the area
Waterproof the area, including both the shower pan and the walls, using the material you have chosen.
Step 8: Apply the adhesive to the surface
For professional results, use Butech P-404 adhesive and spread it over the surface where you will install the shower pan.
Step 9: Install the shower pan and connect it
Place the shower pan in position, making sure once again that it is properly level, connect the valve, and fill it to prevent gases from escaping from the sewer system.
Step 10: Let the sealant dry for at least 24 hours
Allow the adhesive or sealant used to dry for at least 24 hours to ensure a solid and secure attachment of the shower pan.
Step 11: Protect the shower pan to install the cladding
Waterproof the wall, then install the new paneling or cladding—such as Porcelanosa—using the appropriate adhesive and leaving a 3 mm expansion joint. Next, grout the joints.
Step 12: Seal the expansion joints
You can use Butech P-404 adhesive to seal the expansion joints, as this product will give the joint excellent elasticity, strength, and adhesion.
Step 13: Install the decorative grate over the drain
Install the decorative drain grate to provide an aesthetic finish that matches the rest of the installation.
¿Which shower pan should you choose?
When choosing a shower tray, the most important criteria are impact resistance, ease of cleaning, and adaptability to the space’s needs. In this regard, Flow, the shower tray made from Krion Shell® , stands out as one of the best options on the market.
FLOW
Flow is an ultra-thin shower tray made from Krion Shell®, a material developed by Krion based on minerals and resins containing recycled PET. Designed to adapt to all types of spaces, it is available in a wide variety of sizes and can be cut to size on-site, making installation easier.
Its design, featuring soft lines and a seamless aesthetic, is complemented by a slip-resistant surface available in two textures—Class I and Class III—that ensure safety without compromising visual harmony.
Furthermore, the coating on the Flow shower tray significantly facilitates cleaning and maintenance, reducing the time and effort required to keep it in perfect condition. Its surface is impact-resistant, and in the event of damage, it can be easily repaired, thereby extending its useful life.
Thanks to its reduced thickness, the shower tray can be installed either as a surface-mounted or built-in unit, improving accessibility and making it particularly suitable for people with reduced mobility. Furthermore, its design allows any type of shower enclosure to be installed directly on the edge, without the need for additional modifications.
Finally, its innovative composition provides sound-absorbing properties, dampening the sound of falling water and helping to create a quieter, more intimate, and comfortable shower environment.
If you're replacing your bathtub for a shower tray, these options, available in multiple sizes, are the ideal choice. Visit your nearest Porcelanosa showroom to see all the details in person.

,